COMMANDERVIDEO’S ABILITIES
Tap the jump button to do a quick leap over obstacles or to traverse the environment!
Tap the kick button to bust through kickable wall obstacles!
Hold the blast button to shoot lasers at large floating beats!
Hold the jump button down to stay airborne a little longer!
Hold the spring button when approaching a springboard to be flung sky high!
Hold the absorb button to absorb black floating beats!
Hold the slide button to slide under low-hanging or low-flying obstacles!
Hold the block button to deflect beats that fly straight at you!
Tap the dance button to earn bonus points, but make sure the area is clear first!
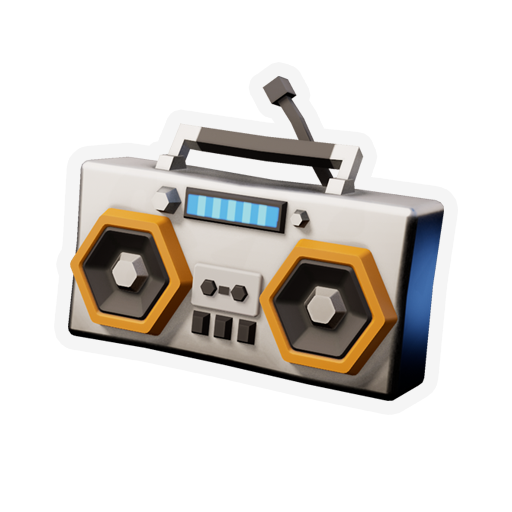
Boombox!
Each boombox earned by collecting gold bars in the main campaign can be spent to unlock new content in the Bonus Levels Menu!
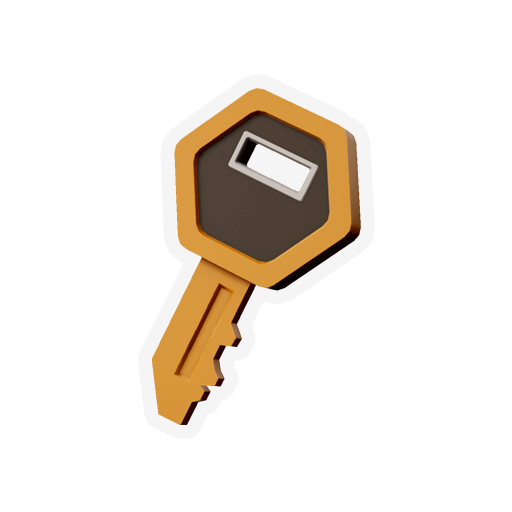
Key!
Each key earned by collecting gold bars in the main campaign can be spent to unlock new content in the Extras Menu!
Get into the ZONE and enjoy some tunes.
RUNNER MAKER
General Functionality
The tabs in the header at the top of the screen allow you to switch views between:
Environment Tiles
Path Objects
Cosmetic Objects
Level Info
Editor Settings
The viewport can be thought of as the end product--it’s the level being built
The palette can be thought of as a toolbox. These are all the elements that make up a level
To view the more advanced editor controls, press the “Infos:” button. Press it again to see the level’s stats
The viewport grid displays a beat map of the level
The level map scroll bar shows you where you are in the level while you’re editing
RUNNER MAKER MANUAL
Control Prompts
RUNNER MAKER’s basic control prompts are always present on screen, whereas the advanced control prompts can be viewed by toggling the info panel by clicking the Left stick
Each tab has slightly different controls, depending on the actions available
General Navigation
There are three areas of interaction in RUNNER MAKER: the header, the viewport, and the palette
The header is navigated by tapping the shoulder buttons to change tabs
The viewport is navigated by using the Left stick
The palette is navigated by using the Right stick
Common Basic Controls
Level design tabs (Environment Tiles, Path Objects, Cosmetic Objects):
Move the tile or object cursor around the viewport with the Left stick
Select a tile or object in the palette with the Right stick
Place the selected tile or object in the viewport with the A button
Delete a tile or object with the B button
Play the level with the View button
Info tabs
Select options with the Left or Right stick
Confirm selections with the A button
Common Advanced Controls
All advanced controls only apply to the level design tabs (Environment Tiles, Path Objects, Cosmetic Objects)
Play the level from a specific tile with the L2+View button
Undo or redo most actions with the L2+Left/Right buttons
Clearing the level or trying to undo something from a previous RUNNER MAKER session aren’t undoable
Change the viewport’s zoom level with the L2+Up/Down buttons
Change the fidelity of the beat grid with the D-pad
Show or hide bonks from a previous run of this level by clicking the Right stick
Clear all relevant level design objects by holding the L2+B buttons
In the Cosmetic or Path Object tabs, only cosmetic or path objects will be cleared, respectively
In the Environment Tiles tab, all environment tiles will be cleared, which subsequently clears all other objects, and is a quick way to clear the entire level and start over
Exit RUNNER MAKER with the Menu button
RUNNER MAKER Tab-specific Features
Insert a tile by holding L2 and pressing the A button
Inserting a tile is a good way to add a little something extra between sections that have already been designed
Inserting tiles (or deleting them) will preserve the gameplay already in place before and after the insertion (or deletion)
Each tile takes 4 beats for CommanderVideo to traverse
He will run faster or slower depending on the BPM of the level’s song
Impossible tile combinations
Tiles will turn red in the palette if placing them would create an environment impossible to traverse with CommanderVideo’s standard abilities
If a tile in the viewport turns red, that means that unless some gameplay is created that allows CommanderVideo to bypass the conflict, it will be an impossible layout
RUNNER MAKER is a fully-featured level design tool, and has many features and functions. Below is an overview of all the features available.
The controls mentioned below are for the Steam Deck button layout. All other controllers, and keyboard/mouse also work in RUNNER MAKER.
Path Objects Tab
This tab is for placing interactive objects in CommanderVideo’s path.
Select objects one-by-one by moving the cursor onto them and pressing the X button
If multiple objects are in the same place, press the X button multiple times to select the one you want
Select multiple objects at once by holding the X button and dragging a selection box around them
Deselect selected objects by holding the X button
Move selected objects by holding the Y button and moving the cursor
Copy selected objects by pressing R2
Cycle through copied objects by tapping R2 repeatedly to cycle through all previously copied objects
Create Obstacle Density Layers:
MEDIUM !! density is the default off of which the other two densities are based
HIGH !!! density allows for more obstacles to be placed in addition to those already in play on the MEDIUM !! density layer
LOW ! density allows for obstacles to be deleted from those already in play on the MEDIUM !! density layer
A good way to think about densities in BIT.TRIP RERUNNER is that LOW ! is MEDIUM !! gameplay minus some objects, and HIGH !!! is medium gameplay plus some objects
Only obstacles may be added/removed from HIGH !!! and LOW ! densities; not collectibles, etc.
Cosmetic Objects Tab
This tab is for placing non-interactive objects in the level.
Cosmetic objects are selected and placed just like path objects, and follow the same general rules
Cosmetic objects are for giving players hints on what actions they should take (or maybe for trying to trick them...) and for placing CommanderVideo’s friends to cheer him on!
Level Info Tab
This tab contains all of the level’s settings and information.
Level Designer (you)
This field is automatically filled in based on your username
Level Name
Name the level by typing in the Level Name field
Level Song
Select any BIT.TRIP song for the level
Level Style
Choose any of the BIT.TRIP RERUNNER worlds for the level to exist in
Song Preview Buttons
Preview the chosen song by pressing the Play Song button
Cycle through the song’s modes by pressing the Song Mode button while the song is playing
Editor Settings Tab
This tab contains all of the settings for RUNNER MAKER.
Visual Style
Adjusting this shows more or less of the in-game world art
Place Tile Mode
This determines whether the Environment Tile cursor automatically moves to the right after placing a tile or not
Environment Tile Sorting
Each environment tile in BIT.TRIP RERUNNER has a design index
Sort the tiles in the Environment Tile tab’s palette by either its design index, or by the type of tile it is
Environment Tile Indices
Show or hide the Environment Tiles’ design indices in the Environment Tile tab’s palette by toggling this setting
Level Map Scroll Bar
This toggles the level’s scroll bar on and off
Editor Music
Choose to have the editor music playing or not
Trail Opacity
This adjusts the opacity of the player trail displayed after playing the level and returning to RUNNER MAKER
Grid Color
The grid color settings change the color and opacity of the viewport’s grid
Restrictions
Springboards and checkpoints must be placed on the ground
A maximum of 4 Mode Ups may be placed per level
Checkpoints can’t be placed within 16 beats of either the start or the end of the level, and they must be at least 12 beats from each other
Objects can’t be placed within the last half beat of a level
Best Practices
Pro-tips from pro users.
To start, decide how long you want your level to be, and lay out a foundational environment of flat tiles
Next, place mode ups at good moments in the song you’ve chosen
Typically, these sound best at the start of measures, or at least on whole beats
After that, place any checkpoints you might want
Try to space these out with good pacing
Placing checkpoints near mode ups tends to feel good
Ideally, each checkpoint will have at least two beats of flat, clear area after it
Gold bars...
Can help to fill in song moments without adding more obstacles
Can help to show players where to go
Can be placed in tricky situations to add extra challenge for players striving for PERFECT runs
Are quite versatile objects
Invisible tones...
Are placed on every step up in the environment, and after most gaps in the campaign levels
Are placed three-in-a-row under environment slide obstacles in the campaign levels
Should be experimented with to make your levels more musical
When laying out the first pass of Environment Tiles, having the Place Tile Mode set to Move Arrow on Place is nice, but once fine-tuning a level has begun, try switching to Fixed Arrow Position
Play around with the Visual Style setting, since sometimes it’s nice to see how the level design fits in with the world, but other times, it’s preferable to see pure level design only
Repeating patterns, like musical phrases, helps players understand the flow of a level
While it’s not required, the best levels have gameplay on each Density Layer
Harder isn’t always better, but flow is. If you’re trying to create a hard level, also try to make it flow
MUSIC MAKER v.1
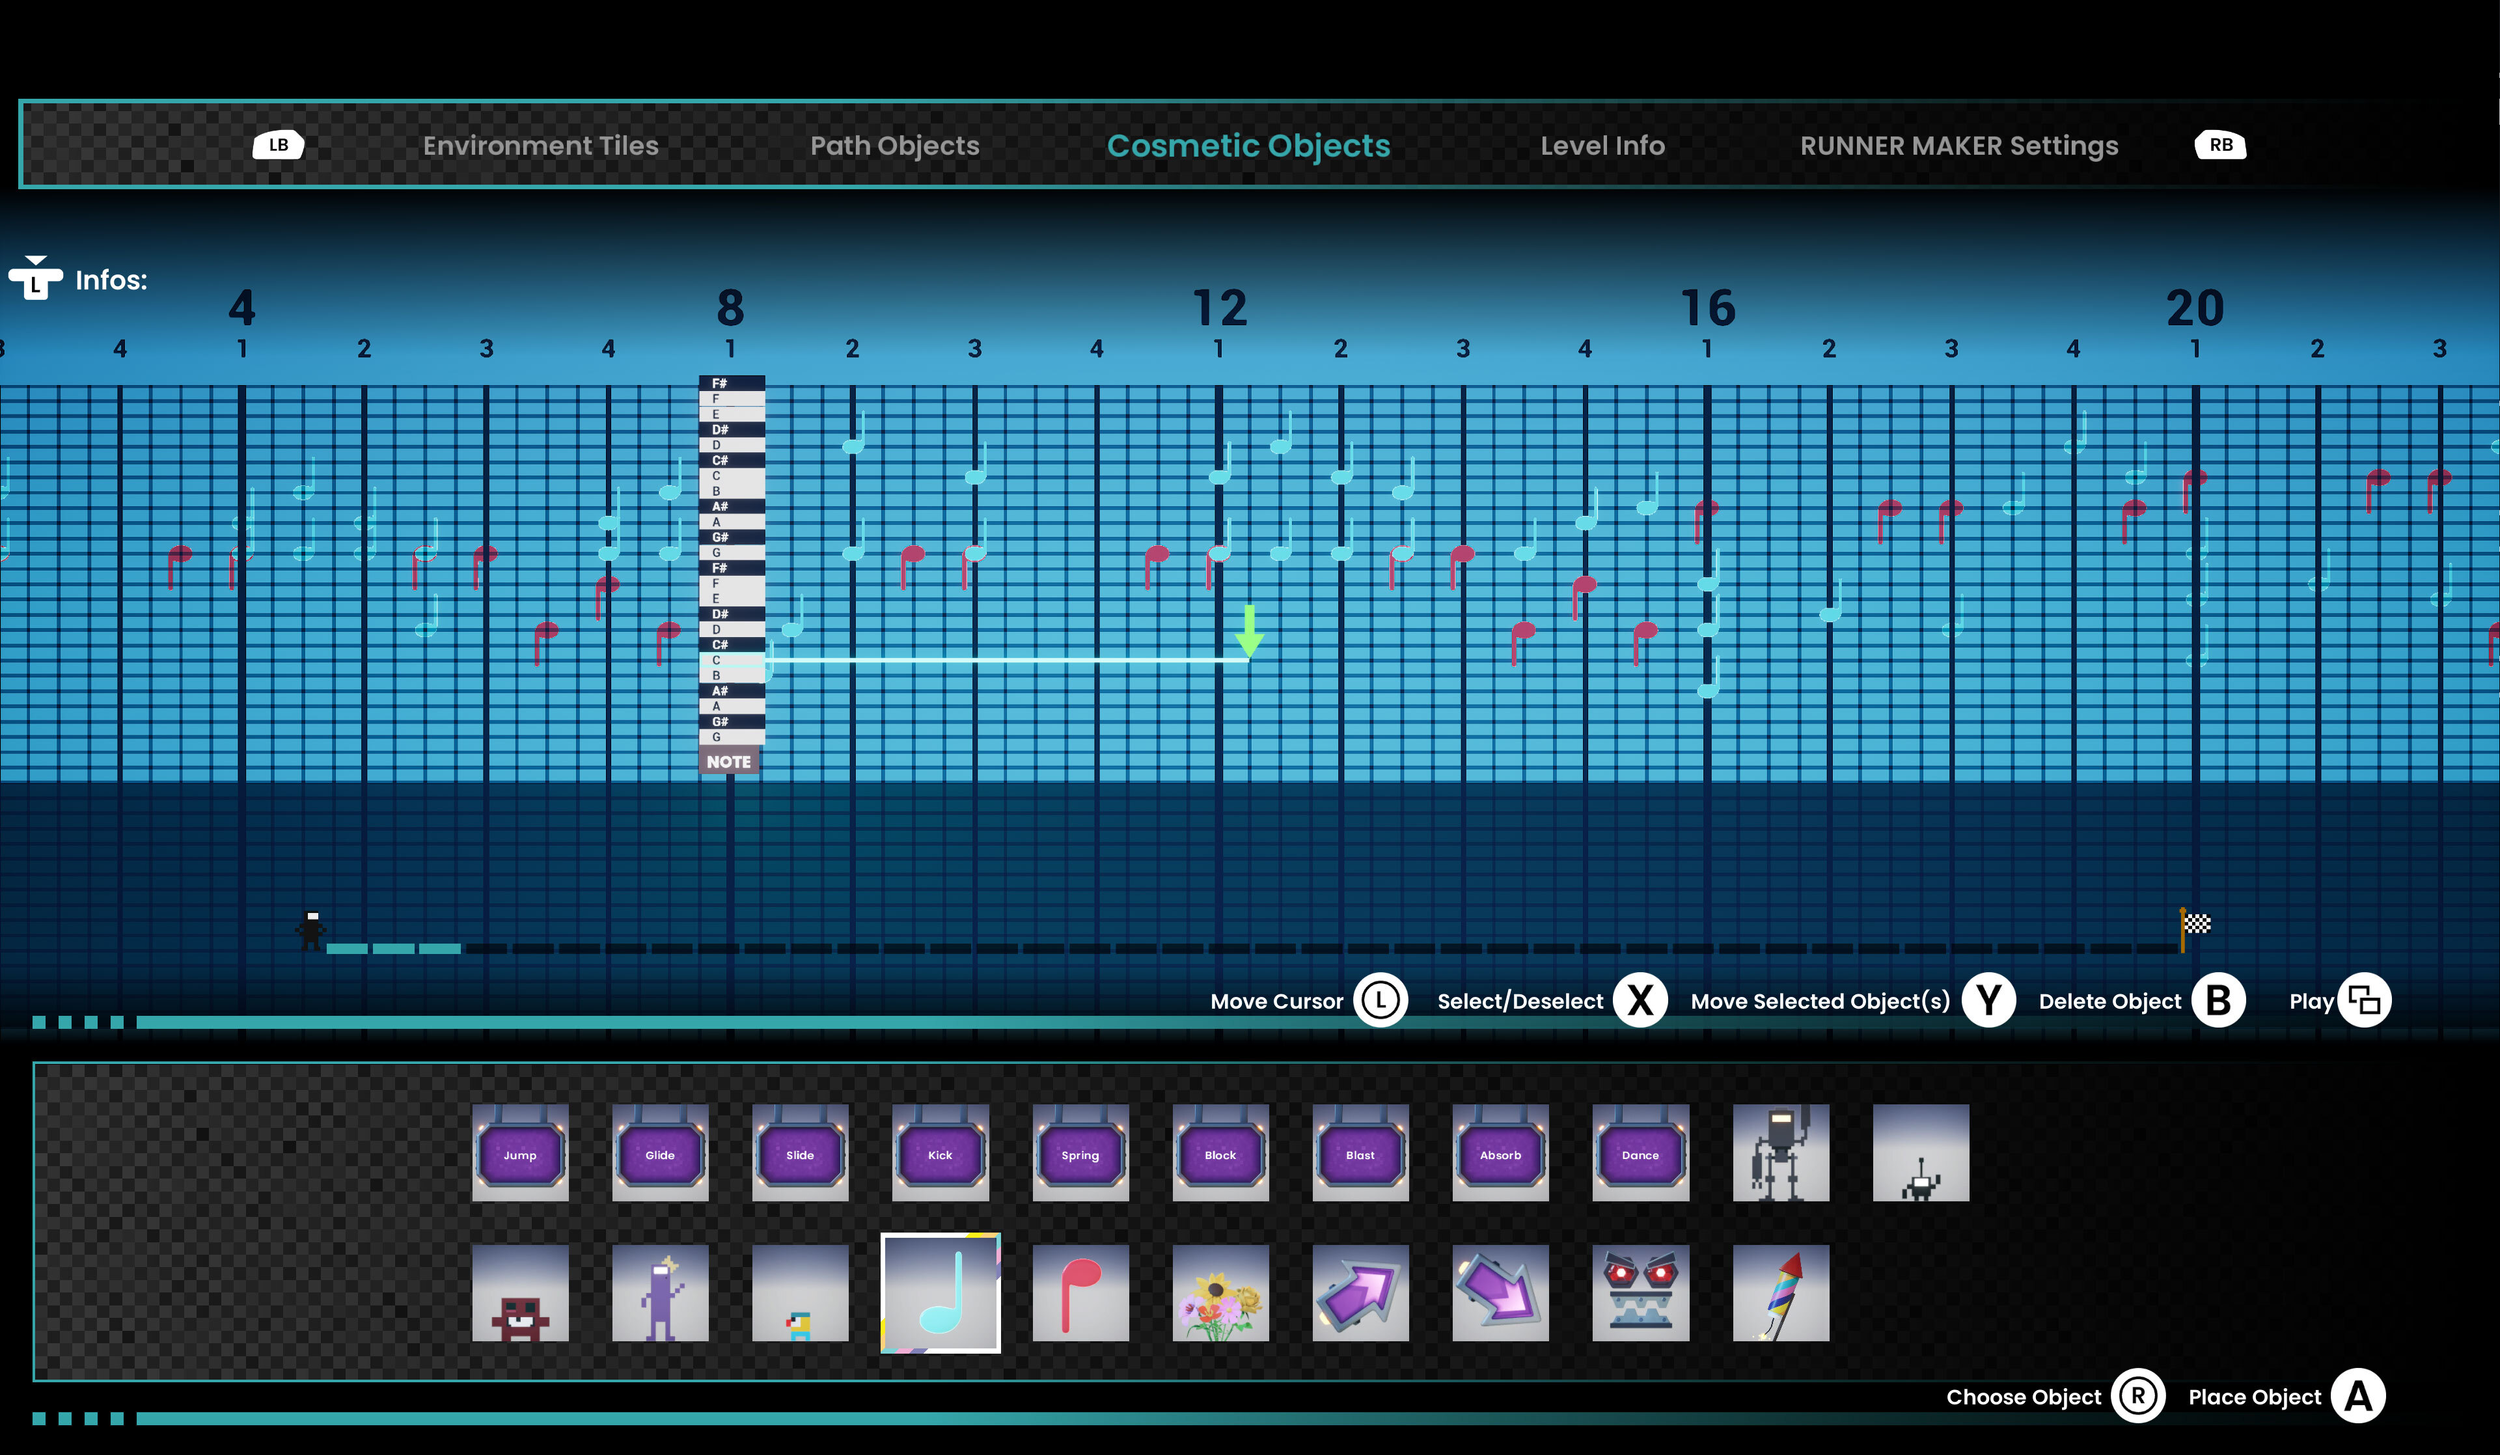
BIT.TRIP RERUNNER now has a MUSIC MAKER that allows you to create original songs for your custom levels! By using the editor grid like sheet music, you can place MUSIC MAKER notes at different heights to create melodies, chords, and basslines during gameplay. You will find these new options in the editor:
Melody notes - higher sounds used for melodies and chords
Bass notes - lower sounds used for basslines
Percussion-based backing tracks at three different BPMs
Melody and bass notes are found under the Cosmetic Objects tab. When you select one of these notes, you will see a new panel on the left side of the grid that displays what pitch corresponds to each horizontal line in the editor. While you won’t see these notes during gameplay, you will notice that as CommanderVideo runs by them, different tones will play based on where you placed the notes. Let’s make music!
Backing Tracks
Of course you can use these new notes with any song in the game. However, we have crafted three percussion-based backing tracks that you can use to create a song from scratch. These tracks contain no melodic elements, so you are free to create any song you like without having to fit the base music in the game. These percussion-based tracks are labeled as OTHER > MUSIC MAKER DRUMS in the Level Info tab with three BPMs available - 160, 132, and 200.
Placing Notes
As you move a melody or bass note up and down the grid, you will see the corresponding pitch highlight in the pitch panel to the left of the grid. You will hear the pitch of the note play as you place a note, select a note, move a selected note, or simply move the cursor over the top of the placed note. If you select multiple notes with the multi-select tool, you will hear all notes play at the same time.
Note Limitations
Up to four melody notes can be placed on one vertical line of the grid. This lets you make chords with up to four notes. Up to two bass notes can be placed on one vertical line of the grid.
Gameplay object sounds with MAKER DRUMS songs
Because player-crafted songs can be in any key, when using a MAKER DRUMS backing track, we have changed the sounds effects for gameplay objects in a few different ways:
Success tones and objects no longer play pitched tones - they play different percussion noises instead
Golds play a woodblock sound when collected
Springboards now play a spring sound instead of the regular three-tones.
We did this so success tones will not get in the way of your melodic creations. Instead, they simply add percussive flavor to your songs.
Other Info
Melody notes, bass notes, and backing tracks follow the rules of Mode Ups. So the song will grow and evolve with each Mode Up collected.
CommanderVideo doesn’t need to physically touch the melody and bass notes to trigger them like with the regular note object. They will always play as he runs by.
The current limit for cosmetic objects is 50 per tile (four beats). This applies to any cosmetic object including RUNNER MAKER notes.
The grid supports two octaves of all 12 musical tones. While it may seem overwhelming at first to see so many notes available, we created this system to be as musically flexible as possible. We recommend starting simple! Place a bunch of bass notes in a row and play the level to see how it sounds. Maybe add some melody notes in some random places. Start moving them around a little. You’ll be surprised how quickly you can create some fun musical moments!
LEVEL DESIGN PACK 1
Path Objects
Flaint Fountain
Place the Flaint Fountain in your level to cover CommanderVideo in flaint, changing his color!
Place a Flaint Fountain in the same place repeatedly to cycle through the BIT.TRIP rainbow and find the color that matches your vibe!
Cycle the Flaint Fountain to the water “color” to rinse the flaint off of CommanderVideo, returning him to his beautiful original hue!
Flaint Fountains can be placed on any ground plane, and can be jumped over to avoid being flainted.
Running through a Flaint Fountain awards 20,000 bonus points!
Challenge Star
It’s recommended that Challenge Stars be placed in very challenging sections of gameplay.
Challenge Stars are tracked on the Challenge Complete Screen, so you know if you’ve collected or missed one.
The Challenge Star awards 75,000 bonus points!
Cosmetic Objects
Dancing Flowers
Spruce up your levels with a little greenthumbery!
Add these little flowers to telegraph where you want players to perform key actions like tricky jumps, last minute kicks, and well-timed dances!
Or just do some gardening.
Navigation Arrows
Show your players where you want them to go by placing these floating arrows in your level.
Timdustries Tasty Timbles to Tot To
Tasty!
Celebration Confetti
Celebrate your players’ achievements by hiding an invisible Celebration Confetti trigger after notable gameplay moments!